Learn How to Draw a Book and a Stack of Books Step by Step
2023/09/10
Report
ADVERTISEMENT
Looking for your next creative muse? You don't have to look very far. Some of the best subjects for drawing can be found lying around your home. Books, for example, can be a great object to render as a drawing. Seems difficult? You'll find that with a step-by-step approach, you can easily learn how to draw this subject.
ADVERTISEMENT
This tutorial will show you how to draw a realistic book in just six steps, and then how to apply that knowledge to draw a stack of books. All you'll need to get started are some basic drawing supplies, such as a pencil, eraser, pen, and paper.
The article is not finished. Click on the next page to continue.
ADVERTISEMENT
The article is not finished. Click on the next page to continue.
Next page
“In the comics, Carl lives until the end. So I didn’t think that Carl’s story would end at any point.”
2026/07/30

Walking Dead Character Killed Off in Season 5 Is Making Surprise Return in Dead City Spinoff
2026/07/30

‘The Walking Dead: Dead City’ gave an on-air tribute to the only actor who appeared on every ‘Walking Dead’ show after his death at age 73
2026/07/30
The Limerick Prop Who Silenced the All Blacks and Then Won Ireland a Triple Crown
2026/07/30

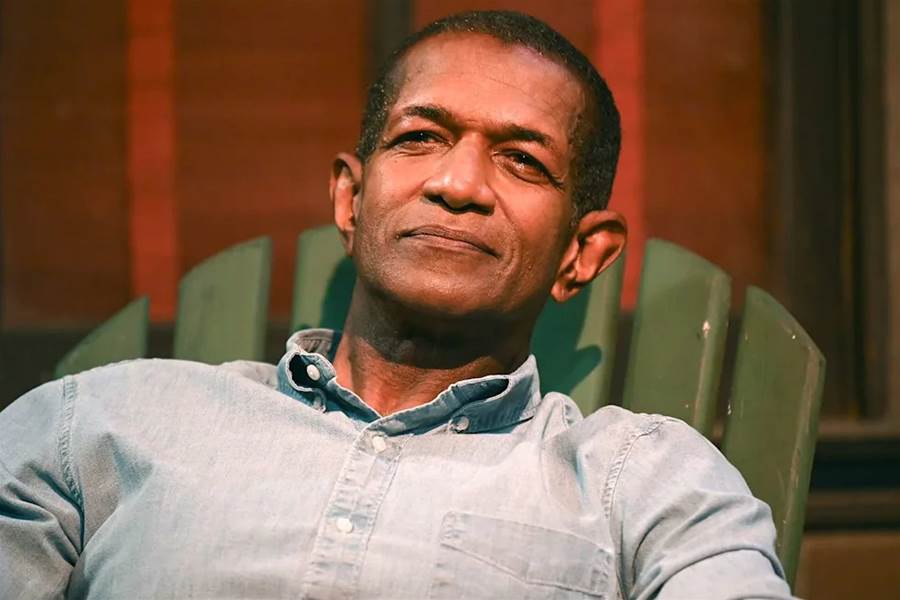
Caitriona Balfe Reveals the Most Difficult Outlander Scene She Ever Filmed And It Still Breaks Fans’ Hearts
2026/07/30

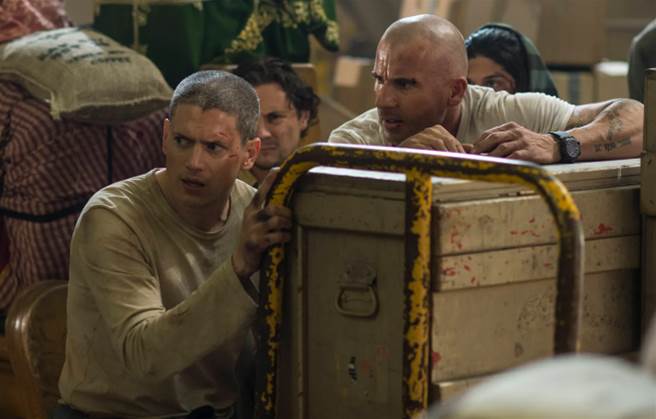
New Prison Break star teases a 'couple of OGs' could be coming back for Hulu reboot
2026/07/30
Barrett to get belated chance to impress new All Blacks boss Rennie
2026/07/30

People who disappear don't leave instructions. They leave absence — a gap where a person used to be, the negative space of someone suddenly gone. What they don't do, as a rule, is write the final chapter of their own disappearance in advance. Robert Cairns, however, was not a man who followed rules.
2026/07/29
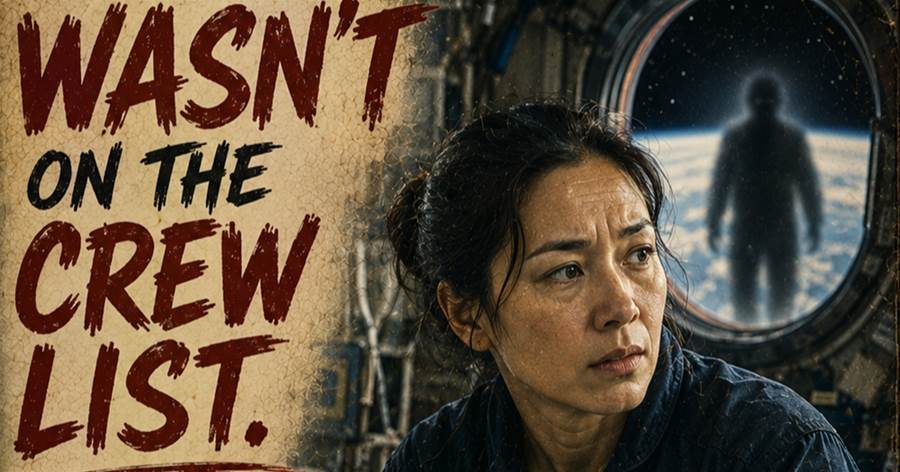
Space is the loneliest environment a human being can occupy. Six crew members, a pressurized tube, the void in every direction. You know who is on board because the list is short and the space is small. Which is why Commander Rachel Park's statement at her post-mission debrief — given privately, then partially leaked, then neither confirmed nor denied — has stayed in the conversation for two years.
2026/07/29
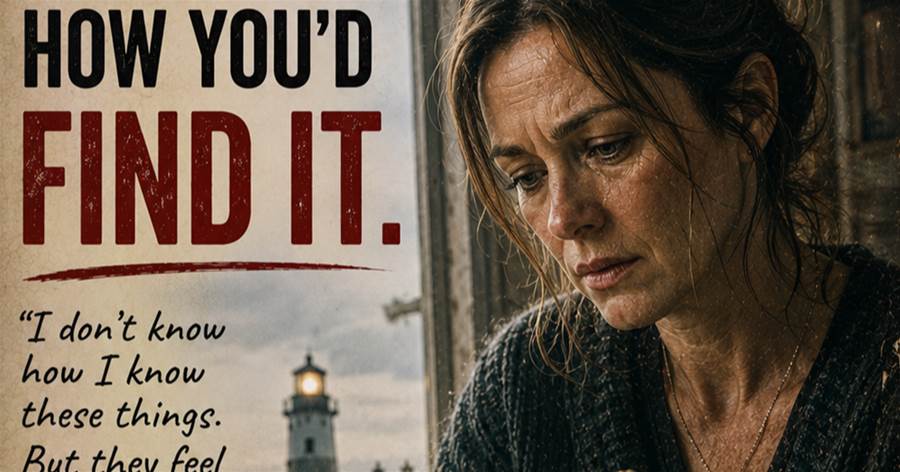
Adoption searches are long, uncertain, emotionally expensive. They take months or years, navigate sealed records, hit dead ends. They do not typically take 72 hours. And they do not typically end with the news that the person you've been looking for has been sitting across from you at a table once a week for the past three years.
2026/07/29

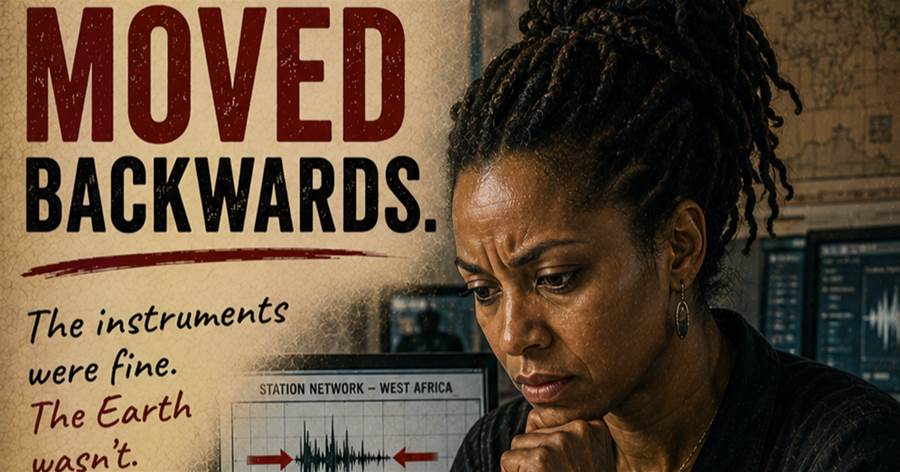
Seismic waves travel outward from their origin point. This is not a theory or a model — it is the observed behavior of every earthquake ever recorded. The wave expands. It does not contract. It does not move toward where it started. Which is why Dr. Amara Diallo's data from the morning of September 3rd, 2022, currently sits in a folder marked "pending review" that has been pending for two years.
2026/07/29
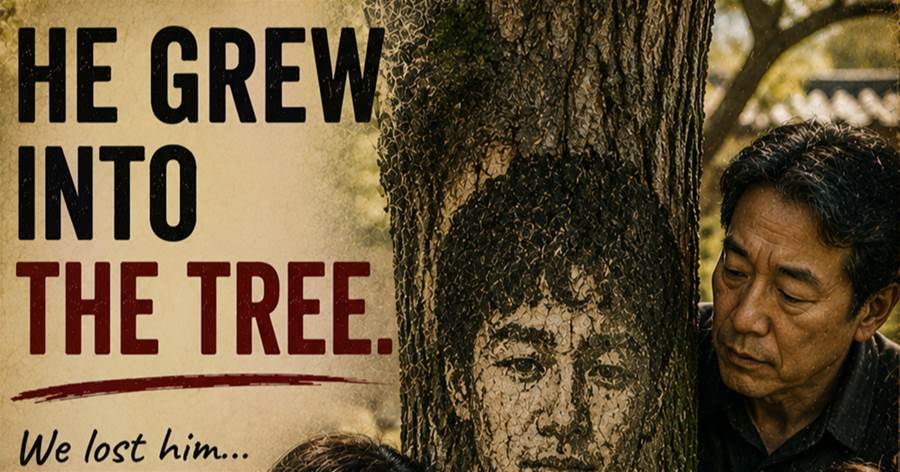
Grief makes the world strange. It finds faces in clouds, voices in static, meaning in coincidence — because the mind that loved someone does not easily accept their absence and will find them anywhere it can. The Nakamura family understands this. They are educated, rational, not given to magical thinking. Which is why what grew in their garden in the spring of 2022 required, for all of them, a very long time to look at.
2026/07/29
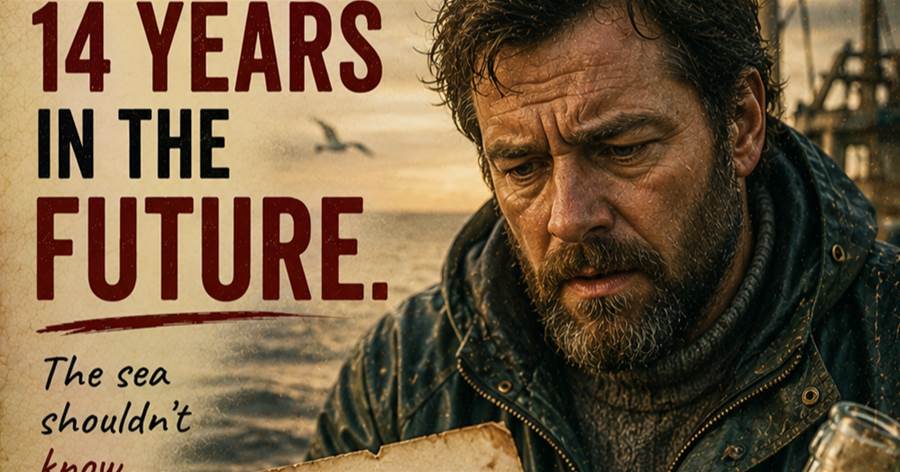
Messages in bottles belong to the past — they are romantic relics, the communication technology of shipwrecks and slow crossings. When Marcus Holden pulled one from the North Sea in October 2023 and found a date on the letter inside that hadn't happened yet, he briefly assumed he'd misread it. He hadn't.
2026/07/29
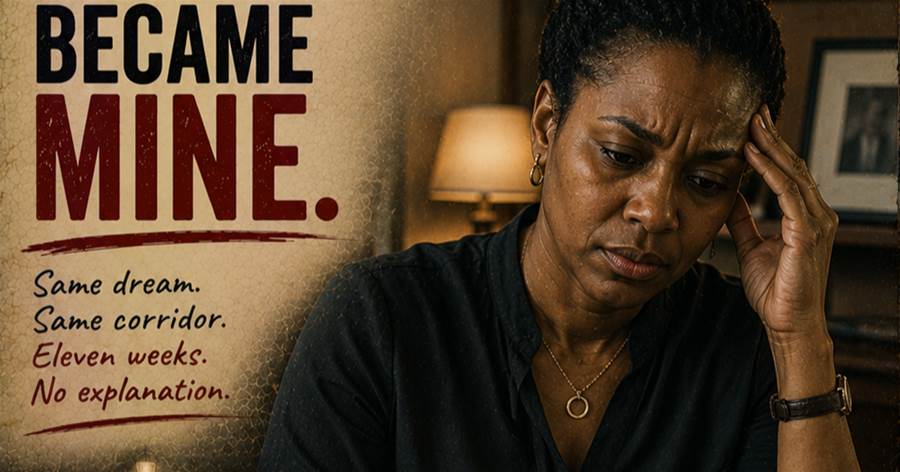
Professional boundaries in therapy exist for good reason. The therapist holds the container; the patient works within it. What the container is not supposed to do is leak — carry content from one person's inner world into another's sleep. Dr. Sarah Okonkwo has been a therapist for eighteen years. She knows this. Which makes what began happening six weeks into her work with a particular patient very difficult to file away neatly.
2026/07/29
Twelve voices went into the recording. The acoustics of the church, a condenser microphone, a sound engineer with twenty years of experience. When the playback began, the engineer stopped it after forty seconds. He counted the voices. He counted them again. Then he asked, very quietly, whether someone had been in the building who hadn't been accounted for.
2026/07/29
Dr. Funke Adeyemi has published 34 peer-reviewed papers in seventeen years of fieldwork. She understands the weight of evidence. She understands what it costs to say something the field isn't ready to hear. She found what she found in the Karoo Basin in July 2023. She has been sitting with it since, alone, deciding what a responsible scientist does next when the responsible thing and the true thing have stopped pointing in the same direction.
2026/07/29
Death is the only experience every human being will have and that no living human can describe. But the dying can. In their final hours, they speak — to people who aren't there, about places no one else can see. Nurse practitioner Diana Osei has been present for more than 400 deaths over 23 years. She started writing things down in 2008. What she found in her notes in 2023 stopped her entirely.
2026/07/29
She had thirty seconds. She used them to make a child feel like the most important person in the building.
2026/07/29

She has 11 siblings, a 57-year marriage, 11 million followers, and four million visitors to her theme park every year. And still, the answer surprised everyone.
2026/07/29

She had no instrument. She had no preparation. She had a microphone and a thought. What came out of that combination is why she is who she is.
2026/07/29